Quick Answer
A professional HVAC installation starts with an in-home assessment and proper sizing, then careful removal of the old equipment, setting and connecting the new system, addressing ductwork and drainage, and finishing with startup testing and a walkthrough. The install quality, not just the equipment, determines comfort, efficiency, and lifespan.
In this article
If you're putting in a new heating and cooling system, here's the short version of what a professional HVAC installation looks like: an honest in-home assessment, proper sizing, careful removal of the old equipment, setting and connecting the new system, attention to ductwork and drainage, and then a real startup, test, and walkthrough before anyone leaves. The equipment matters, but the install is what decides whether you get the comfort, efficiency, and lifespan that system is actually capable of.
Down here in Glenwood, that last part carries extra weight. Our hot, humid summers push systems hard, our wet winters and crawlspaces test drainage and ductwork, and a lot of our older lumber-mill-era frame homes were never set up for modern equipment. A rushed install in this climate shows up fast — as a clammy house, high bills, or an early failure. Here's what a good one looks like, step by step.
It starts with an honest assessment
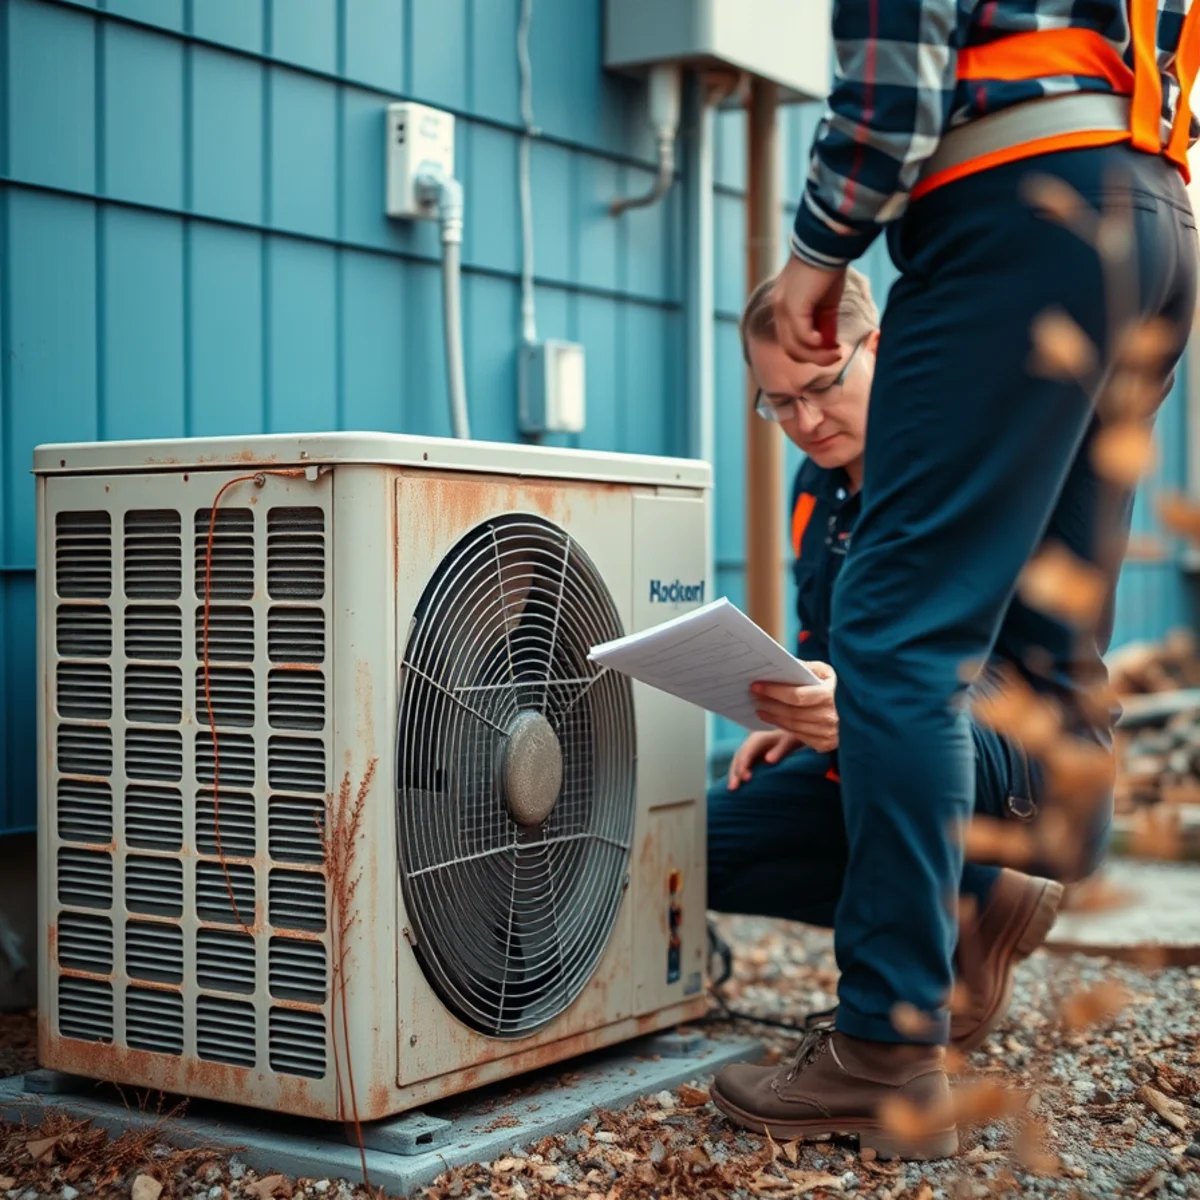
Before anybody talks about brands or model numbers, a good installer comes out and looks at your home. Not just a glance at the old unit — a real assessment.
That means walking the house, checking the existing ductwork and where it runs, looking at insulation and windows, eyeballing the crawlspace or attic, and asking how the home actually feels. Which rooms are always too hot? Does it get sticky in August even when the thermostat says it's cool? Has an addition or a sunroom been added that the current system never kept up with?
This is also where we listen more than we talk. At Killian's, Brooks built the business on trying to repair before recommending replacement — so part of an honest assessment is being straight with you about whether you truly need a new system or whether a repair buys you more good years. If a full system replacement really is the right call, you'll hear why, in plain terms, with no high-pressure pitch.
Key takeaway: a quality install starts with someone physically in your home, not a quote read off your old unit's nameplate over the phone.
Sizing and choosing the right system
Once we understand your home, the next step is sizing — and this is the part that gets skipped most often by the wrong installer.
Bigger is not better. An oversized system blasts your house cold, shuts off before it pulls the humidity out, then kicks back on a few minutes later. In our humid climate that leaves you with a cold-but-clammy home and a unit that short-cycles itself toward an early grave. An undersized system, on the other hand, runs forever and never quite catches up on a 95-degree afternoon.
Proper sizing comes from a real load calculation that weighs your square footage, ceiling heights, insulation, window count and direction, sun exposure, ductwork, and our local heat and humidity — not a rule-of-thumb guess. (We dug into this in detail in our guide on what size HVAC system your home needs.)
With the size settled, we'll talk options that fit your home and budget — central heat and air, a heat pump, or one of our specialty Mitsubishi Electric ductless mini-splits for additions, shops, cabins, or rooms the main system can't reach.
Thinking about a new system? Start with a no-pressure assessment. Call or text Brooks at (327) 210-5999 — Killian's is open 24/7 and happy to talk it through.
Preparing for installation day
Once you've chosen a system, there's a little prep on both sides before install day.
On our end, that means ordering the right equipment and parts, scheduling the crew, and pulling any required permits. On your end, it's mostly about clearing the way:
- Clear a path to the indoor air handler or furnace and to the outdoor unit.
- Move anything fragile near the work areas, including in hallways the crew will use.
- Make a plan for pets so they're safe and not underfoot while doors are open.
- Plan for a few hours without heating or cooling while the swap happens.
We'll give you a realistic timeline up front. Many standard residential installs wrap up in a day or so, but it depends on the system, whether we're touching ductwork, and the shape of the existing setup.
Removing the old equipment
When install day comes, the first real work is getting the old system out — and doing it the right way matters more than people realize.
Old air conditioners and heat pumps hold refrigerant, and that has to be recovered properly, not just vented into the air. The crew shuts down power, recovers refrigerant, disconnects the electrical and line sets, and hauls the old indoor and outdoor units out. We protect your floors and walls on the way, because dragging a condenser across the living room shouldn't leave a scar.
This is also when hidden problems surface — a rusted-out drain pan, ductwork that pulls apart at a touch, or a return that was never sealed. A good installer points these out instead of burying them under shiny new equipment.
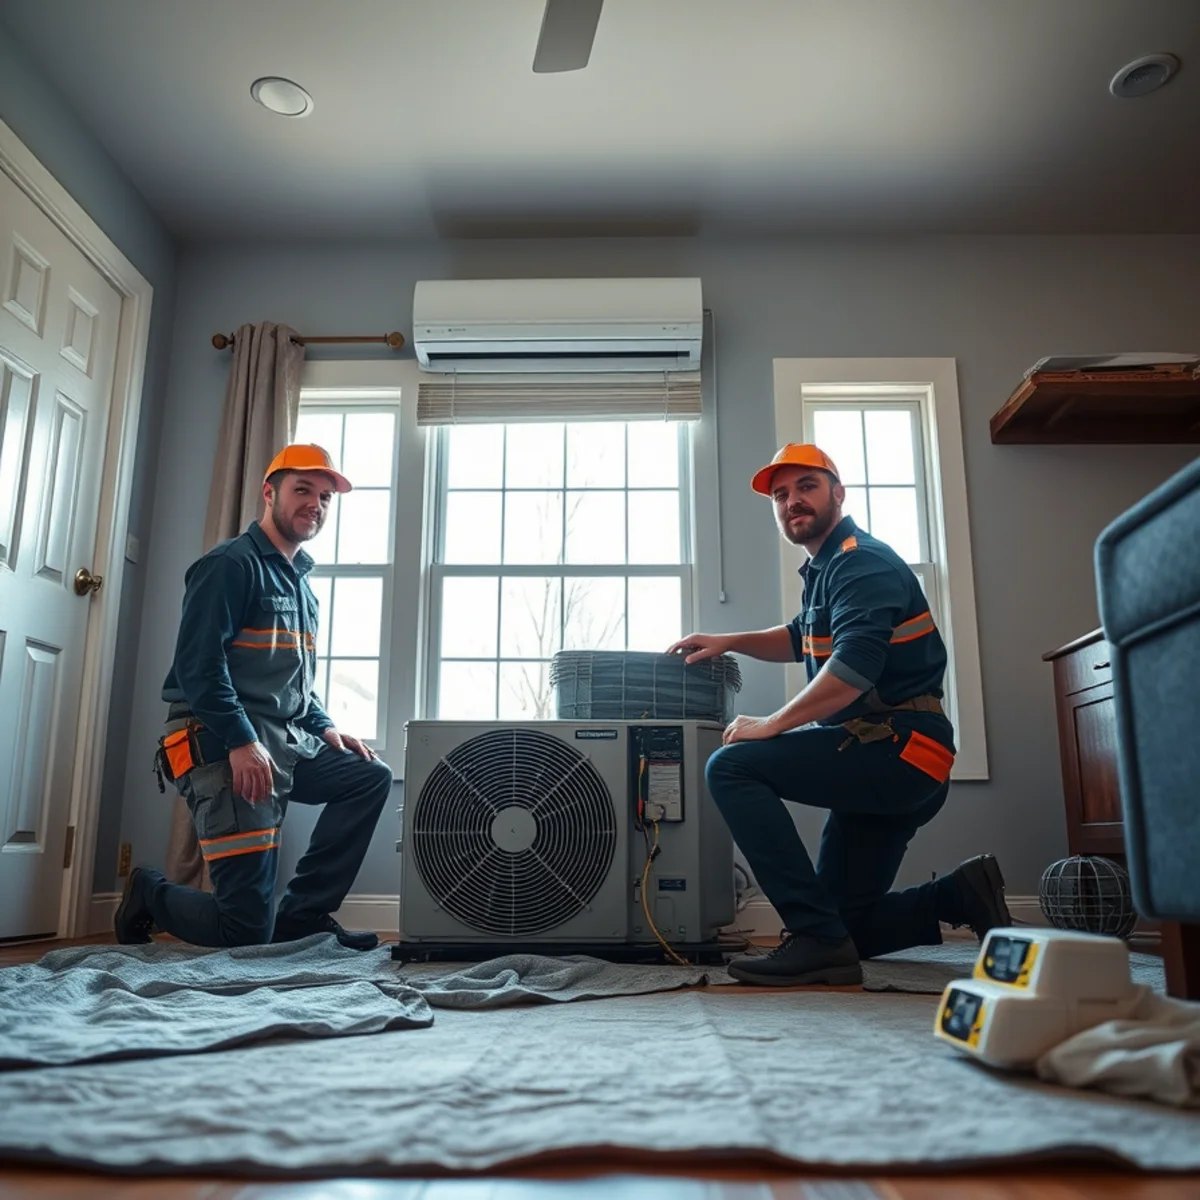
Installing the new system and connections
With the old gear gone, the new system goes in. This is the heart of the job and where craftsmanship shows.
The outdoor condenser or heat pump is set on a level, solid pad with proper clearance for airflow and service. The indoor air handler or furnace is set, leveled, and secured. Then come the connections that make it all work:
- Refrigerant line sets — routed, brazed, pressure-tested, and evacuated to remove moisture and air before the system is charged.
- Electrical — wired to code, with the right disconnect and breaker for the equipment.
- Refrigerant charge — dialed in to the manufacturer's spec, not eyeballed.
- Thermostat — connected and configured, including any heat-pump or dual-fuel staging.
Each of those steps is a place where a rushed crew cuts a corner you can't see — an undersized breaker, a sloppy braze, an overcharged system. Done right, you never think about any of it again.
Ductwork, drainage, and the details that matter
The new box on the pad is only as good as everything it connects to, and this is where a lot of comfort lives.
Ductwork. Leaky, undersized, or rodent-damaged ducts can rob a brand-new system of a big share of its airflow before it ever reaches your rooms. We check connections, seal what needs sealing, and address runs that won't deliver. If your ducts are the real bottleneck, fixing them is part of getting your money's worth out of the new equipment.
Drainage. This one is huge in our climate. All that humidity becomes condensate the system has to drain away, and in our older crawlspace homes a backed-up drain line is a common cause of summer no-cool calls. A proper install includes a correct condensate line, a clean slope, and often a high-level safety float switch that shuts the system off before water ever overflows onto a ceiling.
Airflow and air quality. With everything connected, we confirm the filter setup is right and that the new system is moving and filtering air the way it should — which ties straight into your home's indoor air quality during our long February-through-May pollen season.
Startup, testing, and the walkthrough
A system isn't "installed" the moment it powers on. The startup and testing are what separate a real installation from a parts swap.
We bring the system up and verify it's actually performing: checking refrigerant pressures, temperature split across the coil, airflow, electrical readings, the drain, and the thermostat and any staging. We watch it run through a full cycle and confirm it's heating or cooling the way it should — and pulling humidity, not just dropping temperature.
Then comes the walkthrough. Before we leave, we show you how to run the new thermostat, where the filter goes and how to change it, the basics of keeping it healthy, and what's normal versus what's worth a phone call. You shouldn't be left guessing about your own equipment.
After the install: maintenance and warranty
A new system is a long-term investment, and a little care protects it.
Most manufacturer warranties expect documented routine maintenance, so keeping up with seasonal HVAC maintenance does double duty — it keeps the system running efficiently and it keeps your warranty intact. In our climate, with heavy summer run-hours, fast-loading pollen filters, and that constant condensate load, those tune-ups earn their keep.
And we don't disappear after the truck pulls out of the driveway. Killian's is a genuine Glenwood and Pike County operator — not a Hot Springs or Little Rock dispatch — and Brooks is known for answering by call or text long after the install is done. If a question comes up next week or next year, you call the same people who put the system in.
The bottom line: a professional HVAC installation is a sequence of small things done right — honest assessment, correct sizing, careful removal, solid connections, sealed ducts and drainage, real startup testing, and a clear walkthrough. Get those right and a good system delivers the comfort and years it's built for.
Ready for a new system, or just want an honest opinion on yours? Call or text Brooks and the team at Killian's Heat & Air at (327) 210-5999. We're Open 24 Hours with 24/7 emergency service, serving Glenwood and the whole Caddo River and Lake Greeson area. Request Service and let's talk about what fits your home.
By the Killian's Heat & Air team
Reviewed by owner Brooks Killian, who has serviced and installed central heating and air across Glenwood and Pike County for 32+ years (Licensed AR HVAC #0852404). Meet the team.